
How to Sew a Button: A Simple Step-by-Step Guide
A button pops off your favorite shirt, and suddenly a perfectly good garment feels ruined. But sewing a button back on is one of the most useful and easiest sewing skills anyone can learn, requiring just a needle, thread, and a few minutes. No sewing machine, no experience, and no special talent needed. Once you know how, you will never toss a shirt over a missing button again, and you will fix loose buttons before they disappear entirely. Here is a simple, step-by-step guide on how to sew a button.
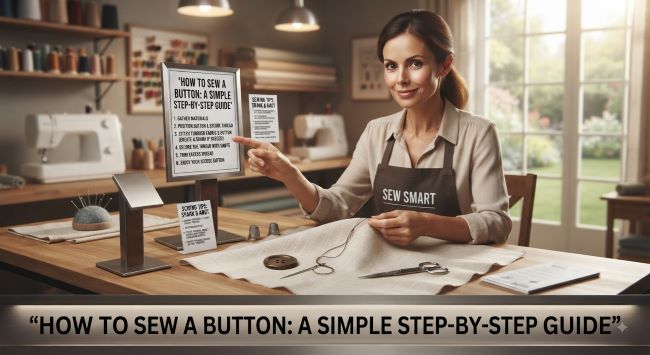
What You Need
Before starting, gather a few basic supplies:
- A needle, a standard hand-sewing needle.
- Thread, ideally matching the garment’s existing thread color.
- The button, either the original that fell off or a suitable replacement.
- Scissors, to cut the thread.
That is genuinely all you need. These few inexpensive items, often found in a basic sewing kit, are enough to handle how to sew a button on almost any garment. A small sewing kit is worth keeping at home for exactly this kind of quick repair.
Understanding Button Types
A quick note before the steps: knowing your button type helps. There are two common types:
Flat buttons have two or four holes through the face and sit flat against the fabric. These are the most common and are sewn through the holes.
Shank buttons have a small loop or stem on the back (the shank) instead of holes through the face, and the thread goes through that loop.
Most shirt buttons are flat buttons with two or four holes, so the main guide below focuses on those, with a note on shank buttons after. Recognizing which type you have makes the process clear.
How to Sew a Button Step by Step
Here is the straightforward process for how to sew a button with holes (a flat button):
- Thread the needle. Cut a length of thread (around 18 to 24 inches), thread it through the needle’s eye, and pull it so the thread is doubled, then tie the ends together in a knot. Doubling the thread makes the attachment stronger.
- Position the button. Place the button where it belongs on the fabric, lining it up with the buttonhole it needs to meet.
- Start from behind. Push the needle up through the fabric from the back, coming up through one of the button’s holes, and pull the thread through until the knot catches against the back of the fabric.
- Sew through the holes. Push the needle back down through the opposite hole and through the fabric. Then come back up through another hole and down again, repeating this several times. For a two-hole button, go straight back and forth; for a four-hole button, you can sew straight bars across each pair or cross them into an X pattern.
- Add a thread shank. For a flat button, it helps to keep the button slightly loose from the fabric rather than tight, creating a small gap. Placing a toothpick or pin under the button while sewing, then removing it, leaves room. This little “thread shank” of space lets the button sit properly when buttoned, especially on thicker fabric.
- Wrap and secure. After several passes, bring the needle up between the button and the fabric but do not go through a hole. Wrap the thread around the threads under the button a few times to create a neat shank, which reinforces it.
- Finish off. Push the needle to the back of the fabric, then secure the thread with a few small stitches or knots on the back to lock it in place. Trim the excess thread.
That is the complete process for how to sew a button, and with a little practice it takes just a few minutes.
Sewing a Shank Button
The process for how to sew a button with a shank is similar but simpler in one way, since there are no face holes. Thread and knot your needle as before, come up through the fabric from the back at the button’s position, pass the needle through the shank loop, then back down through the fabric. Repeat this several times through the loop to secure it firmly, then finish off with knots on the back and trim. Because the shank already provides the spacing, you do not need to create a thread shank yourself.
Tips for a Secure Button
A few tips make any button repair sturdier and neater:
- Double the thread for extra strength, since a single strand is weaker.
- Match the thread color to the garment or existing button threads for a tidy look.
- Do not pull too tight, leaving a little room (the thread shank) so the button sits and functions properly.
- Make enough passes, several times through the holes, so the button holds securely.
- Secure the end well with knots or small stitches so it does not come undone.
- Reinforce loose buttons before they fall off entirely, saving you from losing them.
Practice Makes It Easy
If your first attempt at how to sew a button looks imperfect, do not worry, since this is a skill that quickly becomes second nature. After sewing on a button or two, the process feels natural and fast. It is one of those genuinely useful life skills that saves money and extends the life of your clothes, letting you rescue garments that would otherwise be set aside over a tiny, easily fixed problem.
The bottom line on how to sew a button is that it is a simple, quick skill anyone can master with just a needle, thread, and a few minutes. Thread and knot your doubled thread, position the button, sew through the holes several times while leaving a little slack for a thread shank, wrap and secure the threads underneath, and finish with knots on the back. For shank buttons, sew through the loop instead. With a bit of practice, you will confidently fix any loose or missing button and keep your favorite clothes in service for years.
Key Takeaways
- Sewing a button on is one of the easiest, most useful sewing skills, needing only a needle, thread, and a few minutes.
- Match your thread color to the garment, and double the thread for a stronger attachment.
- Flat buttons have holes through the face; shank buttons have a loop on the back, and each is sewn slightly differently.
- For flat buttons: knot the thread, come up from the back through a hole, and sew through the holes several times.
- Leave a small gap (a thread shank) under a flat button, using a toothpick or pin, so it sits and functions properly.
- Wrap the thread around the under-button threads to create a shank, then secure with knots on the back and trim.
- For shank buttons, simply sew through the loop several times, since the shank provides the needed spacing.
- Do not pull too tight, make enough passes, and secure the end well for a button that holds firmly.