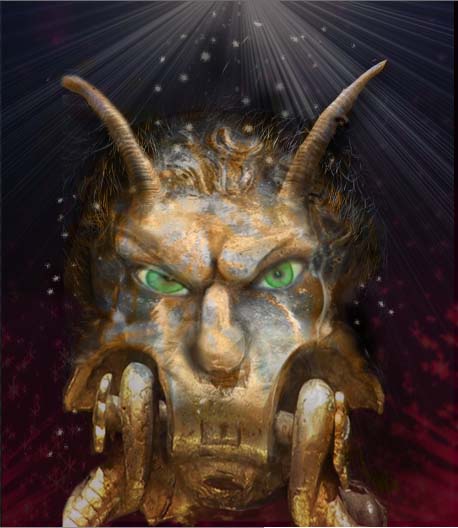
In this tutorial we will learn how to create a fantasy devil face with morphing.
We used different images and morphed them in Photoshop into a fantasy creature(All photos used are from Stock. Xchng , and are free to download, links are provided in the tutorial)
This is what you will be creating

Step 1
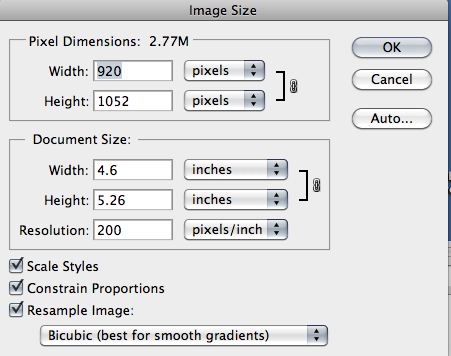
Open a file as below. (If you want to use your image for print you need to change setting to 300DPI, CMYK and required proportion.
Background
Place these two backgrounds photos
Photos for background:
Background Photo 1
Background Photo 2
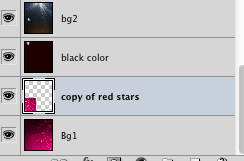
Add a black layer color in between with Blending mode to “Linear Light” and 84% transparency.We made another copy of the stars and placed in the bottom side of the image. You may need some “Blurring” filter to make stars softer as a background image.Your layers should like this:

Step 2
Placing photos
Place the “Devil Statue “ photo and the “Devil Handle” on top of it.
Devil Statue
Devil Handle
In order to adjust two photos on top of each other, change the transparencies of two layers to see them better and scale them (after adjustment turn transparencies back). Make sure jaws and nose of the golden Dragon Handle photo are almost on top of Devil Statue.
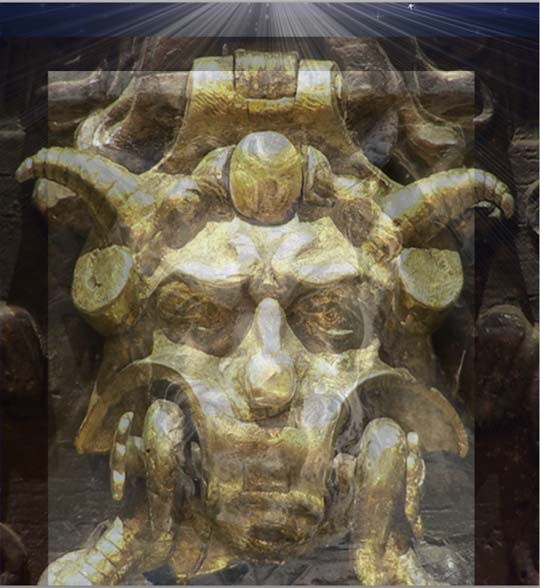
–Turn the “Devil Handle” photo off, with soft brush and “Eraser Tool” size (121px) start erasing extra parts except face and head of the Devil Statue face including eyes.
–Make some color adjustments with “Hue and Saturation” and “Color Balance” tool.
Set the layer opacity to 94%, Normal blending. (Feel free to adjust to your judgment).

– Now Turn on the “Devil Handle” golden photo. With the same soft brush eraser tool erase the top part (above nose) of the ‘Devil Handle”.
Set the opacity of the layer to 65%. Normal Blending.
– Choose “Healing Brush” tool and change the brush setting to below:
(“Healing brush” works softer than “Cloning Tool” to blend to layers)
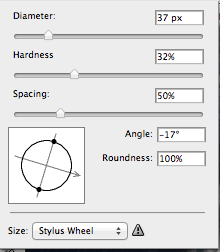
“Option –Click” or Alt- Click” on Devil Statue photo select, then brush on “Devil Handle” photo and softly mix two photos in the jaw and nose area
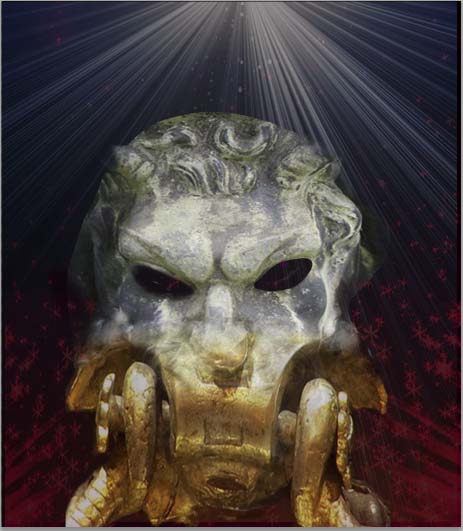
Step 3
Eyes
– Cut both eyes and put them in separate layers
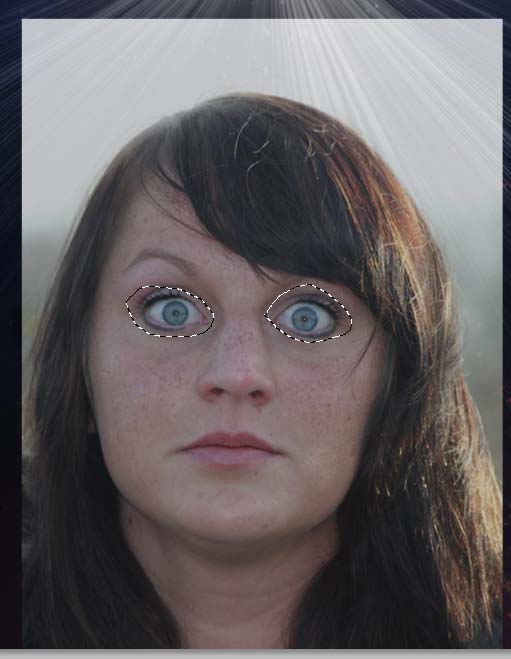
– Use Liquify filter > Bloat Tool> with following setting:
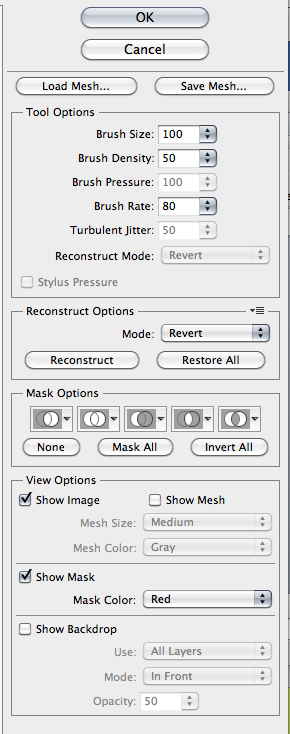
– Put each eye layer under the “ Devil Statue” layer.
Scale and rotate to match in the place.
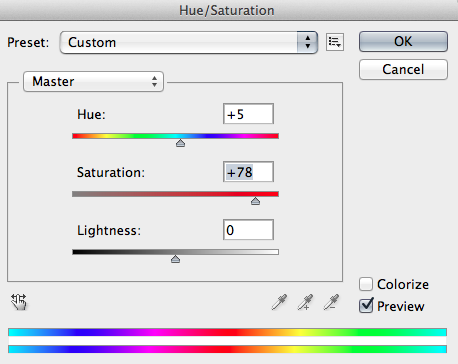
– Use below “Hue& Saturation” setting to give green color to pupils.
(Don’t worry about the purple colors on lids; they will be covered by front image and our shadowing effects later)

Step 4
Horns
– Add two horns from this photo and place it on top of the image head
Horns
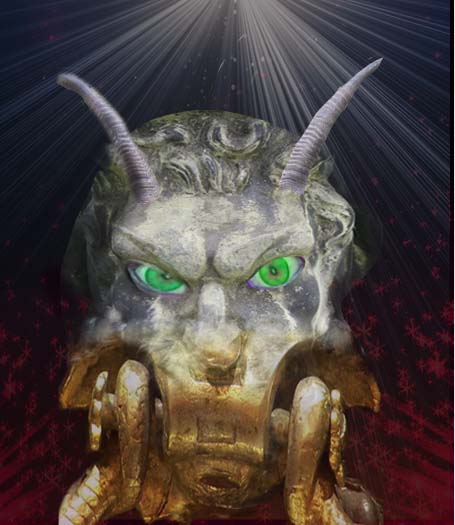
– Use” Hue & Saturation” to adjust the face color.
Fur
– Use this photo for adding fur to the photo
– With soft brush “Eraser Tool”, erase all areas except the furry hat in the image. We use it for our composition.
– Set the layer to normal blending and opacity: 96%.

Patterns
– For patterns on the face we used this tiger photo skin
– Set “Blending “ layer to “Color” and Opacity to 96%
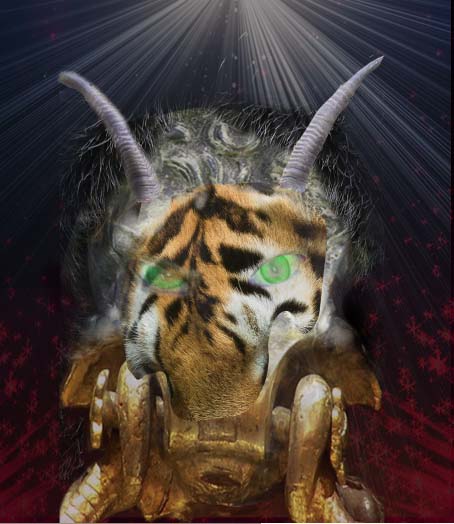
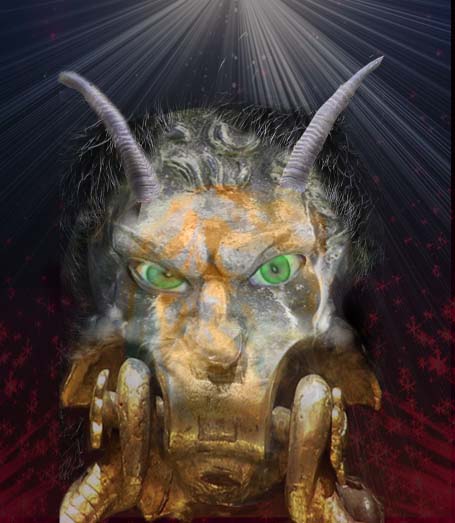
– We used three copies of this pattern in different parts of the face as shown below.
You can merge all together when you become happy with the result

Glowing Dots
– In a new layer with soft brush we created f a couple of dots in different sizes.
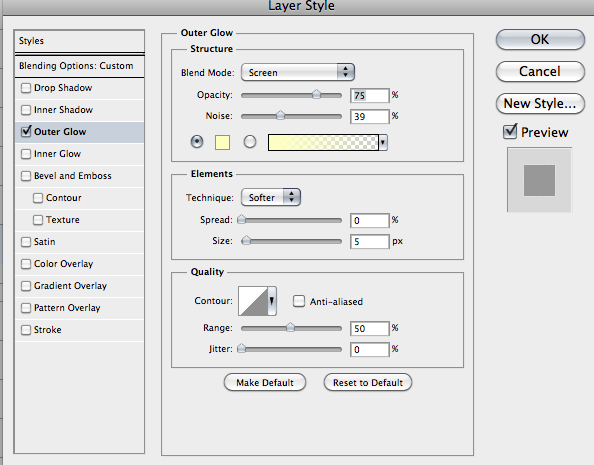
Then added “Glowing Effect” following setting;Place them on top of the background and face.
Light and Shadow adjustments
– With soft brush, normal blending, size 5px and opacity 29%, we added some white lines to the tiger pattern on the face and horns.
– For Shadows adjustment we created another layer – Normal blending with same soft brush color; 6e6254 and opacity 29%, we added shadows to the nose, eye brow, eye, horn and side faces.
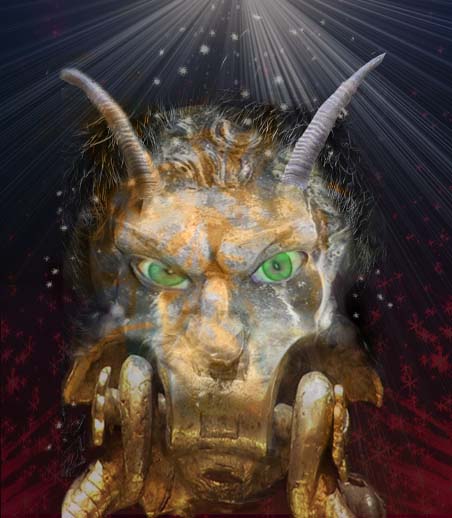
We also used “Burn Tool” with following setting as well
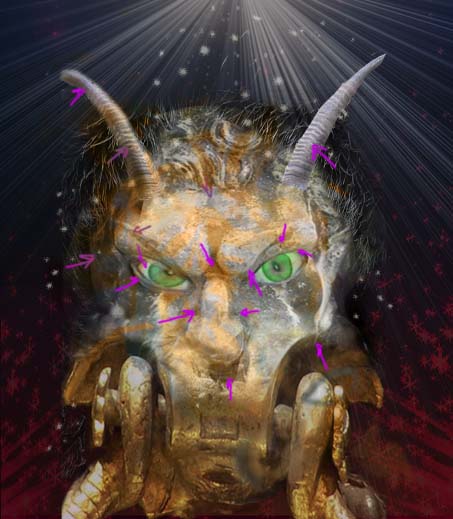
Final image will be like this
