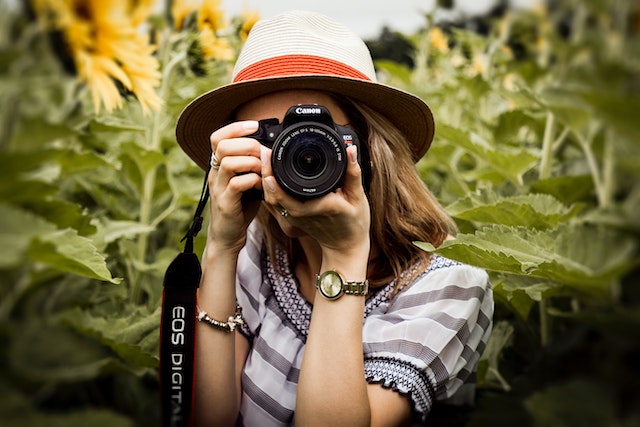
The question of why the images come out blurry worries many newcomers to the art of photography. It can be caused by anything from poor focus to an unstable camera position. Of course, a great solution is to take pictures using a tripod, but unfortunately, this is not possible in every case. Of course, you can try software that can help to remedy the situation. Luminar Neo is one of the best image sharpeners thanks to its unique AI capabilities. Today we’ll look at some actionable tips on how to improve the clarity of your images while shooting.
How to Take Clear Photos While Shooting
In order to get high-quality and clear photos, professionals must consider many things, such as:
- camera position;
- ISO settings;
- the aperture value;
- image stabilization;
- focus (manual or automatic).
Let’s look at each point in more detail.
Pay Attention to the Way You Hold the Camera
The most common cause of blurry photos is camera shake. Of course, the easiest solution is to use a tripod, but there are times when this is just not possible. To stabilize the image, hold the camera with both hands and lean against a surface. This way you will get the most stable position and avoid (or minimize) blurry pictures.
Adjust ISO
Set the ISO to a lower value. The lower it is, the less noise will be in the picture. For daylight photography, it is recommended to set the default ISO to 400, but setting it even lower will result in less grainy images. A higher ISO will allow you to use slower shutter speeds and take pictures of moving subjects, but there will also be more noise.
Change the Shutter Speed
The next most obvious reason is the shutter speed. We think you know that shorter shutter speeds give less camera shake. There is a golden rule for determining the best shutter speed for a lens. The shutter speed should be at least 1/ focal length. For example, for a 100mm lens, you should choose a shutter speed of 1/100 or faster.
Narrowing the Aperture
In terms of image clarity, the aperture is crucial. Smaller values will soften the image, while wider values will reduce the depth of field. That’s why it’s so important to know the limitations of your lens and find the golden mean. In order to achieve successful shots, you have to master your technique to perfection. Take the time, but learn all the settings to get amazing results.
Use Image Stabilization
Many models of modern cameras are equipped with an image stabilization option that eliminates camera shake. Remember, however, that it removes camera movement and allows you to use slower shutter speeds, but it has no effect on the movement of the subject.
Manual or Automatic Focus
Autofocus can really help in certain situations, but don’t rely on it all the time. No technical trick can help you get your photos as sharp as manual focus. It’s especially useful in low-light situations. Use the manual focus and then zoom the image, and you’ll see how clear the details are.
Mirror Lock
You may not know it, but every time you take a picture with a DSLR, there is a slight vibration of the mirror. The good news is that there is a “mirror lock” mode in the camera settings.
Cleaning the Camera
If you have tried all these tips and still not getting the results that you were hoping for, it could be that the blurring is caused by dust or smudges on the lens. These can distort colors and light, so try wiping the lens with a special lens-cleaning solution. Also, try to store your equipment in special cases or bags so that it lasts as long as possible.
Is it Time to Change Your Lens?
If you’re still not getting the results you want, you probably need a new lens. Yes, lenses can also be responsible for sharpness, but it’s definitely a last resort and only after you’ve tried everything on the list.
Finally, every camera and every lens has its own “perfect setting” that will make your pictures super sharp and clear. Over time you’re sure to find that combination, but if you’re wondering what you can do with your camera now, try our tips – maybe you’ll see the difference right away.

Final Thoughts
Sometimes a photo appears sharp when zoomed out, but when you look at it when enlarged, you may notice that some outlines and details look blurry. If you find yourself in this situation, don’t get upset.
Sometimes the reason for the lack of sharpness is hidden in the shift of the camera at the moment of taking the picture. Almost everyone shoots without a tripod, but not everyone can keep their camera still. Even a tiny shift of the camera worsens the sharpness – and don’t think that a short shutter speed can insure you. That doesn’t mean you can’t take sharp shots with your hands. The right techniques are important, and you can develop the skill. Try not to shoot while walking or otherwise moving (from the car window, for example). If possible, it is better to linger and take a picture while standing still. Also, pay attention to your camera settings. Try, experiment, and enjoy the process!


