A wholesale catalog or gloss magazine isn’t finished until it’s printed, but how do you get your booklet to that point? This easy guide to preparing your print file yourself means you can ensure that everything looks exactly as you want it.
You may have put a lot of time and effort into designing artwork to showcase your company, but getting it ready to be printed is another matter.
Normally, when you’re working with images, you can choose the exact size you want to the pixel and many sites will automatically adjust the dimensions of pictures you upload to fit the space available. But printing onto paper is a little different and you need to be a little more precise when it comes to making sure your design measures up.
Printers have historically used the technical terminology surrounding the process without explaining what the words actually mean. This makes it sound much more complicated than necessary and prevents people from even considering trying to do it themselves.
But the times are changing and this simple, easy-to-follow guide is going to show you how to get your artwork print ready.
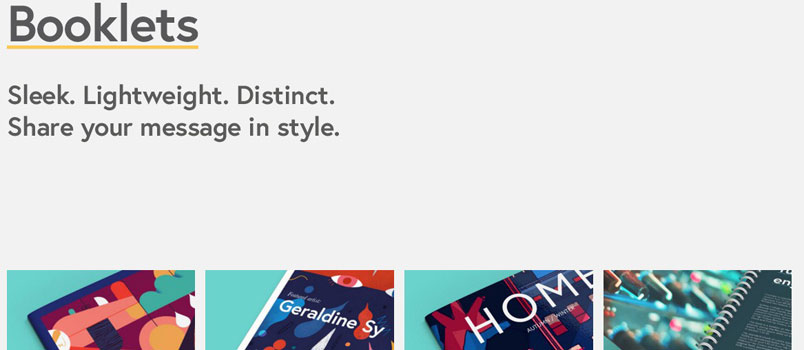
The first thing to do is to establish exactly what we are talking about. In printing terms, a ‘booklet’ simply means a number of sheets of paper that have been bound together. Whether you’re creating your company’s product catalog, a glossy magazine or paperback book, these would all be booklets when it comes to printing them.
So, now we know what we’re talking about, let’s get started.
Paper
Paper is a good place to start as you will probably already have an idea of the effect you are going for.
A satin finish is used for most projects – the smooth finish makes it perfect for a wide variety of print jobs.
Gloss paper is super shiny and perfect if you want to give your booklet a high-quality feel without paying any more.
Uncoated paper is rougher and makes the color you use look a little toned-down, giving your booklet a rustic, vintage feel.
Satin paper is the default for most situations because it gives consistently good results in almost any context. Gloss is usually reserved for printing covers and high-resolution images where the colors really need to be crisp and defined. Many comics are printed on uncoated paper because the rough feel and faded colors lend an air of authenticity to the artwork.
You will also need to think about how thick you want your interior text paper to be. It’s measured in lbs (pounds) and most booklets are printed on text paper between 70 and 80 lbs with covers between 80 and 110 lbs.
It’s important to note that while the same lbs measurement is used for text paper and cover paper, the actual paper thickness is not the same. 80 lbs cover paper is approximately twice the thickness of 80 lbs text paper.
You also need to be aware that the thicker the paper, the stiffer it becomes. So if you created a magazine with a low page count and very thick papers, your reader would struggle to open the pages and actually read it! So thicker papers aren’t always better for your reader, unless you have a proportionally high page count to match.
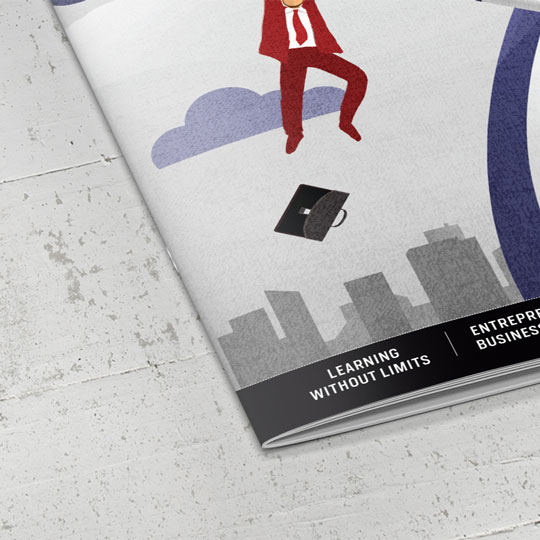
Covers
Many booklets have thicker covers which make them look more professional and also help to protect the inner pages from damage. Covers tend to be made from thicker paper, between 80 and 110 lbs, which can be either satin, gloss or uncoated.
A ‘self-cover’ booklet is one with no separate cover, where the first page is effectively the front cover and there is no distinction between the thickness of the paper used. These are sometimes called ‘floppies’ because they are much more flexible than booklets with thicker covers.
Lamination
Cover paper will always look better laminated, not just because the artwork will really stand out but also because the thicker paper will protect the inner sheets and keep them looking fresh for a long time.
So what choices will you be making? First, you will need to decide whether to go for matte or gloss, but this one is usually pretty easy:
Matte lamination is a smooth protective coating on the paper whereas gloss lamination is smooth and very shiny. Satin cover paper usually works best with matte lamination to complement the feel of the booklet, whereas gloss paper with gloss lamination is about as shiny as you can get for a really eye-catching finish.
Uncoated paper is not suitable for lamination as it doesn’t stick very well and the paper loses all the characteristics that would make you choose it in the first place.
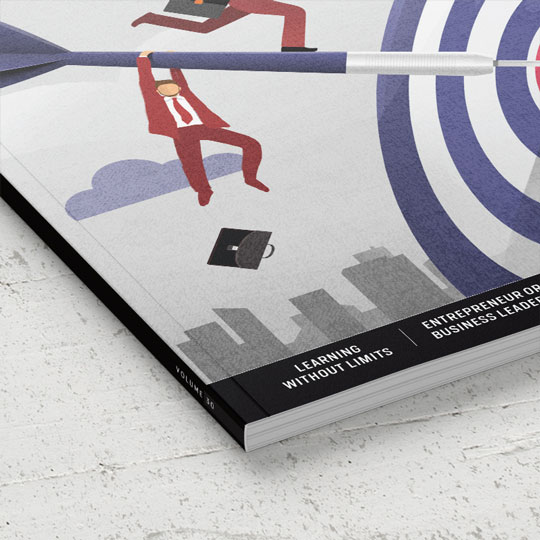
Binding
You have three choices for binding your booklet:
– Staple-bound – a couple of staples through the middle of the pages which is also known as saddle stitching.
– Perfect bound – pages are glued together to form a rigid spine, much like a paperback book.
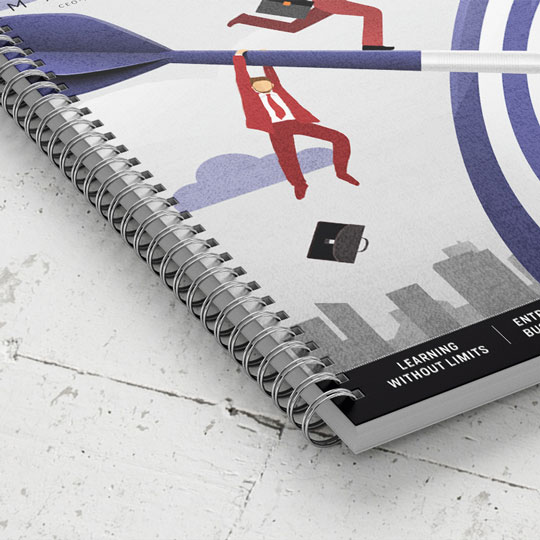
– Wiro bound – The pages are held together with wire loops running through holes in the margins of the paper.
Most booklets are staple bound as it’s the cheapest and most effective option. High-end magazines and premium booklets are usually perfect bound because it looks really sleek but to make the spine you need a minimum total thickness for all your paper.
If you are using 130gsm paper, then you would need 36 sides or more for perfect binding to be an option and, if your paper is any thinner than that, you would need even more.
Wiro binding isn’t as common as the other two as it is often used in technical documents or trade catalogs which have been made with thicker paper.
Print File Setup
Once you have chosen your paper and decide how you want your booklet bound and laminated, the next step is putting together your print file. You will need to bear in mind which binding you have chosen as this will affect the way you set up your files.
The print file is designed to ensure that your design comes out looking how you want it, taking into account the slight discrepancies that occur in the automated printing process. Setting your print file up properly means that you should never be surprised at what comes back from the printers.
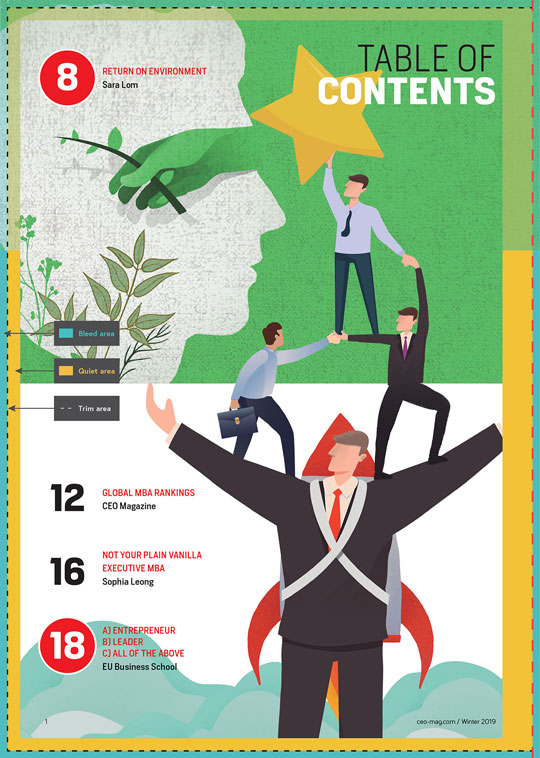
The print file set up diagram provides a visual guide to these important elements:
Size
There are the familiar US standard sizes such 5.5″ x 8.5″ and 8.5″ x 11″ which can be printed in either portrait or landscape orientations. You can create your own custom size for your booklet if that works better for your design and this could be rectangular or square as you choose. However, it’s worth bearing in mind that in the US boxes for shipping and displays for presentation are usually made to accommodate standard sizes, so choosing one of those might make your life easier depending on what you want to do with the finished product.
Trim Line
This is where your design will be trimmed, unsurprisingly, so if you choose 5.5″ x 8.5″ paper, the trim line will be the height and width of an 5.5″ x 8.5″ page. But sometimes the cutting blades fall slightly outside their defined area, which is why you need the bleed.
Bleed Area
The bleed area surrounds your trim line and extends to 0.125″ on every side. This doesn’t change depending on the size of your paper or your binding – it’s always 0.125″.
For an 5.5″ x 8.5″ design, this means that your print file will be 5.5″ x 8.5″ sized plus a 0.125″ margin on each side which your design should completely fill. Then, if the cutting blade falls slightly outside the trim line, you won’t have a white line bordering your page which would completely ruin the look of your artwork.
Quiet Area
The quiet area is a 0.25″ border inside the trim lines and it’s important that the quiet area is free from any important design elements.
There are practical and aesthetic reasons for this: you don’t want any of your design to be chopped off by the cutting blades if they fall slightly inside the lines; and a page where the important stuff extends all the way to the edge is confusing to the eye and makes the information hard to process.
For staple bound booklets, you simply need a 0.25″ quiet area on all sides, but if you’re designing a perfect bound booklet you will need to ensure that your artwork is at least 0.5″ away from the edge on the side which will be bound on all pages, including the cover, as otherwise you will find that elements of your design get lost between the pages.
If you are designing a wiro bound booklet, you will need to leave a 0.8″ space on the bound edge to ensure that your hard work doesn’t end up with a wire ring through it.
CMYK and DPI
This is the most technical part of the guide, so get ready!
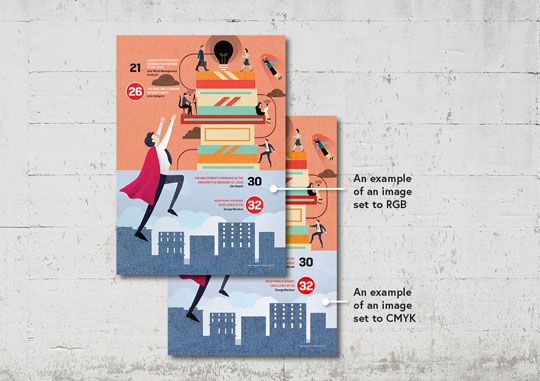
Your artwork should be designed using CMYK colors and if you are including images, you need to ensure that they are high enough resolution to work in print otherwise your finished product could look pixelated and poor quality.
Although your screen uses colors generated by mixing red, green and blue (RGB) light, printing uses pigmented ink, so you need to ensure that you are using colors that can be replicated in print. If you don’t, your finished product will only be an approximation of what you designed because any RGB colors will need to be converted to CMYK in order to print them.
Whether you’re using InDesign, Illustrator or Photoshop, you can set your colors to CMYK before you start work. We recommend using the CMYK Profile: Coated GRACoL 2006 (ISO 12647-2:2004) for really impressive results.
If you are currently kicking yourself because your design is in RGB, then stop: you can convert the colors in your design package and you can manually tweak anything that doesn’t look right before you send it to print.
Some printers will be able to process low-resolution files such as JPEGs or Word documents, but just because they can doesn’t mean they should. Grainy pictures and blocky images will make your whole booklet look amateur, so we recommend images of at least 300dpi and exporting PDFs using the ‘high-quality print’ option from InDesign.
Booklet Examples
Simple Catalog
– Size: 5.5″ x 8.5″
– Binding: Staple bound
– Alignment: Portrait
– Sides: 20
– Text Paper: 70 lbs satin
– Cover Paper: 80 lbs satin paper with a matte lamination
This is a classic combination used for booklets of all types, from catalogs to magazines and manuals. The combination of satin paper and a slightly thicker cover is a really cost-effective way to get a quality feel for your booklet.
Glossy Magazine
– Size: 8.5″ x 11″
– Binding: Perfect bound
– Alignment: Portrait
– Sides: 80
– Text Paper: 80 lbs satin
– Cover Paper: 100 lbs gloss paper with gloss lamination
This combination is perfect for a high-quality magazine – the perfect binding gives it a sleek look and works well with the high page count. Using slightly thicker paper for the interior pages alongside the high-gloss cover make for a luxurious look and feel.
If you’re designing a company booklet or product catalog that you want to stand out from the crowd with a high-end finish, perfect binding will always convey an air of quality.
That’s it! You have made it to the end and now know everything you need to about how to prepare your file for booklet printing. Now you aren’t relying on your printer to do this for you, a whole range of options are open to you which could save you a lot of money.
