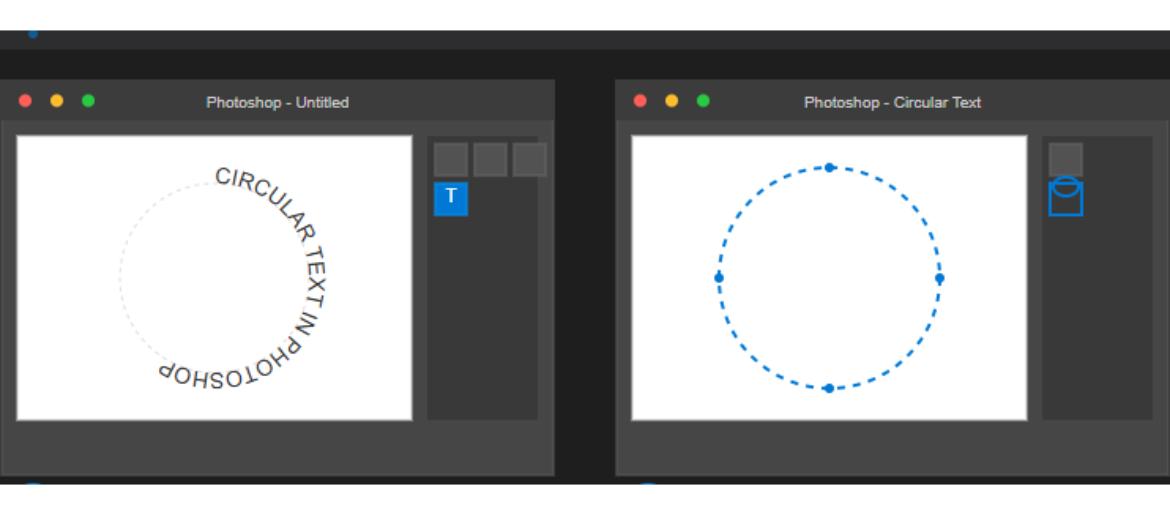
Adding circular text in Photoshop is a creative way to give your designs a modern, dynamic edge—perfect for logos, badges, social media graphics, and more. Whether you’re a beginner or a seasoned designer, this effect is surprisingly easy to achieve using Photoshop’s built-in tools. In this tutorial, we’ll walk you through each step to help you master the art of wrapping text around a circle in just minutes. If you’ve ever wondered how designers create those perfect curved captions and type-on-a-path effects, you’re in the right place.
Let’s dive into this simple yet powerful technique and learn how to create circular text in Photoshop like a pro.
1. Create a New Document
-
Open Photoshop and press Ctrl+N (Windows) or Cmd+N (Mac).
-
Choose your desired canvas size (e.g., 1200×1200 px) and click OK.
2. Draw a Perfect Circle
-
Select the Ellipse Tool (press U, then Shift-click ellipse).
-
Hold Shift while dragging to create a perfect circle.
3. Convert to Path
-
With the Ellipse Tool still active, make sure the Path option is selected in the top options bar (not “Shape” or “Pixels”).
-
This creates a circular path for your text to follow.
4. Select the Type Tool
-
Press T to activate the Horizontal Type Tool.
-
Hover your cursor over the circular path—when you see the text icon curve, click on the path.
5. Type Your Text
-
Enter your desired phrase—you’ll see it conforming to the path.
-
Use Ctrl+T/Cmd+T to rotate the circle or adjust position as needed.
6. Adjust Text Settings
-
Open the Character panel (Window → Character).
-
Modify font, size, tracking (space between letters) to ensure it wraps neatly around the circle.
7. Fine‑Tune Position
-
Use the Path Selection Tool (black arrow, press A) to tweak where the text starts along the circle.
-
Drag the small vertical line at the beginning of your text to offset its position.
8. Style Your Text
-
With the text layer active, go to Layer → Layer Style.
-
Apply effects like Stroke, Drop Shadow, or Gradient Overlay to enhance the circular text aesthetic.
9. Optional: Add Inner/Outer Text
-
Repeat the same steps:
-
Create a smaller or larger circle path.
-
Add new text to form inner or outer circular text rings.
-
10. Finalize and Export
-
Once satisfied, go to File → Export → Export As.
-
Save in your preferred format (PNG for transparent background is ideal).


