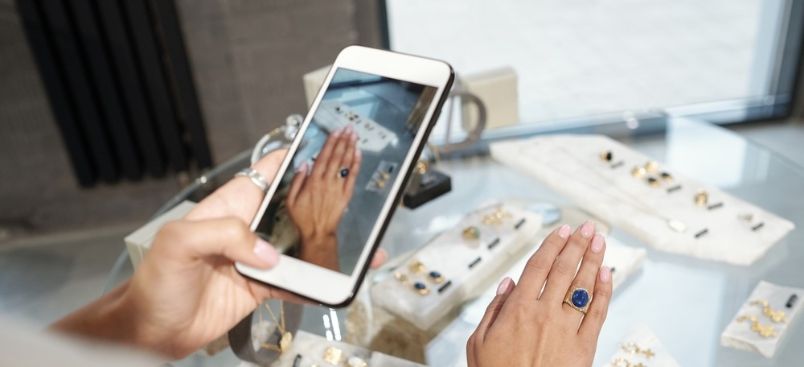
Initially the perception of a jewellery retailer brings forth images of a smart, hushed shop kitted out with glass and marble, and attended by haughty shop assistants in suits. In reality, there are thousands of artisanal jewellery makers who hone their craft using all manner of different materials and book themselves onto local craft fairs and winter markets.
With a myriad of online shopping sites at their disposal, arts and crafts have moved from a limited local target market, to, literally, a global platform. A small artisan gemmologist working from a converted garden shed in Spalding can now individually reach potential buyers on the West coast of the States. But presentation is will always be key.
Taking good, professional photographs of your products will lift up the overall quality perception of your products and make them more appealing to a wide audience. While most of us now have access to some of the most technologically advanced cameras on our smart phones, actually using them correctly still needs a degree of knowledge.
Our checklist below will ensure that you give your photography every opportunity to truly showcase the hard work, skill and talent you have poured into your craft.
Always use a white background
While you may be tempted to jazz up the background to showcase your personality and make your products stand out, most online shopping platforms require all products to be photographed on a white background. This actually works to your advantage. A white background will show off your workmanship I all its glory.
A white background can be created with a simple sheet roll of thick white paper that you can set up on a tabletop. Make sure that you keep it scrupulously clean, and between each product roll out a fresh surface to minimise any imperfections in the final photographs.
Don’t worry about behind the scenes
Your camera is focussed solely on the product. Whatever goes on behind the scenes, however messy it may look, is not important provided it gets you the shot you need.
Feel free to use any tape, clamps, paper clips, bulldog clips, anything that keeps your background smooth and blemish free. A whit foam board is essential for reflecting back the light onto any shadows and brighten up the overall image.
Individual and group shots
Be creative and expansive in terms of the types of shots you make. Set up products in both groups and individually. For example, shoot both men’s and women’s bracelets in one image, then separate them out into a single piece shot.
Make sure your jewellery is buffed
Getting up close and personal to your products will risk every smudge and blemish being identified by the very powerful lens in your smartphone camera. You can minimise any imperfections by ensuring the products are cleaned and polished as much as possible.
You can photoshop out any remaining blemishes after the photograph has been taken, however, photoshopping is another skill entirely and might take some considerable time if you don’t really know what you’re doing. The more time and effort you put into the shoot, the less you’ll have to do afterwards.
Shoot from different angles
If someone is looking at your product for real, they will want to pick it up and examine it from every different angle. You want to try and recreate this as much as possible with your photographs, so make sure you take shots from every single angle. It is also wise to use the video function and take a short 15-30 second video of the product which can also be uploaded onto some sites or can be overlayed with music and a descriptive voiceover to really lift your product above its competitors.


