Creating pictures during the nighttime is really a very curious practice for sure. While there are many experts of the night photography already know and embrace the fact that making night photography a hit requires a lot of passion and technical knowledge, there are some newcomers who are yet to familiarize themselves with the concept.
The truth of the matter is that the true and tried rules of photography often take a back seat when it comes to taking photos during the nighttime. Having said that, there are some tips that can actually help you become a great night photographer and take flawless pictures without the daylight.
Explore What You Don’t Know About The Night
Do you know what your exposure time would be during the nighttime? Well, that is a question that most photographers seek answers for when they are asked to take nighttime photos. The basic knowledge about shutter speed and aperture take on a mind-expanding front during the night. Just by stopping the aperture, you can actually enhance the effect of the street light and make it seem like something shiny. Also, turning the shutter speed into the bulb would offer you the advantage of seeing what cannot be seen. The process of nocturnal image creation is something that would provide you with some endless opportunities to explore and play and have all sorts of fun. So, why wouldn’t you want to do that?
Use High ISO Testing For Exposure
For those who still have some doubts about determining the proper exposures from the beginning, there is a pretty simple trick to help them out. The High ISO Testing feature can be your ultimate guide in that front. If you start with increasing your ISO deal and then stop at the aperture opening, then the exposure of your camera will be decreased by half. This can actually help in saving a lot of time for the beginners out there. This is something that most of the expert photographers use as well. So, you might just want to give it a shot and then see how it works. We are pretty sure that you will be impressed with the results for sure.
Learn About The Functions Beforehand
During the daytime, it is pretty easy to find the buttons that would help you in changing the settings of your camera. However, the situation becomes a lot trickier when it comes to night time. You cannot really have the precision in locating all the additional settings and accessories that are buried deep inside the camera bag, right? Well, without studying properly about your camera, the accessories with it, and the function, you will often find yourself facing this exact same situation that we are talking about. So, memorize all you can about the gear functions and have a map of all the different access points of the camera on your head so that you don’t have any trouble locating them in less light.
Get Familiar With The Destination In Advance
One of the most challenging things that the photographers have to go through while shooting on the dark locations is that they cannot really pinpoint the exact location of the subject. That can mess up the entire composition of the picture. While there are some photography post-production services and tools like photoshop, lightroom that can minimize the damage, but still there are some bits and pieces that cannot be altered once they are in the picture. So, how does one rectify the mistake?
Well, familiarizing yourself with the destination can be a great thing. Make sure that you scout the entire area in advance to know all the different locations and the exact spots where you would want things to be. Arrive a little early at the location if necessary. Seeing the destination in broad daylight can actually help you memorize and map the place in your head.
Use Manual Mode and Bulb Mode
The primary tip is to ensure you are shooting in Manual mode. In Manual mode, you will set the shutter speed, aperture, and ISO. This places you in full control over you camera. In low light, the autofocus function does not always capture what you want to focus on and hence it is recommended to use manual mode at night. While shooting in the manual mode, you want to be in focus, so adjust the focus of the image until the picture is pin sharp and then click the picture.
Sometimes, the focus can be blurry, when you see this happening, adjust the viewfinder; it is likely it is out of focus. Manual mode works for exposures as long as 30 seconds. On the off chance that you need a shade speed that is longer than 30 seconds, the main choice for getting a legitimate presentation is Bulb mode. In this way, while you ought to for the most part shoot in Manual mode, you ought to likewise be alright with Bulb mode.
In Bulb mode, the shutter remains open as long as you hold the shutter down. When you press the button, the shutter opens. When you release it, the shutter closes. To abstain from bringing any shake or development into the presentation, utilizing a remote shutter release is basic when utilizing this mode.
With Bulb mode you can make your presentation a few minutes in length. On the off chance that your remote shade discharge does not have a clock worked into it, ensure you keep another clock helpful (your mobile phone may have one). In the event that your remote does not have a clock, ensure it has a locking highlight so you don’t need to hold it the whole time.
Adjust the Image Capture to Make Out Color Casts and High Contrast Levels
While doing night photography, you might actually be dealing with situations with varying color casts and high contrasts. So, you need to shoot with the RAW file format on your camera. This way, the leeway will be enhanced it can help in controlling the contrast as well. In order to achieve maximum control over the color of the photo, what you can do is actually set the white balance of the camera to having a certain Kelvin temperature. It can be a great help when you need that tungsten blue hue for your photos. These hues can actually help people associate your pictures with other nocturnal imagery.
Select A Sturdy Platform To Avoid Vibrations
Nighttime photography becomes exceedingly difficult due to the vibration that happens in the camera as a result of long exposure times. This can actually affect the image in a great way. So, one method to avoid such situations is to have a sturdy tripod that can actually avoid the situation. You might have to get used to the unwieldiness and bulk of the tripod, it can help a great deal when you want to achieve perfect clarity during the nighttime. Apart from that, there is another benefit which is that it helps in providing you with the perfect composition that you need. Your exposures will be sharper and you can actually have a better photo with the tripod.
Avoid using your flash
To beautifully capture a night scene, avoid using the flash. When you shoot in auto mode, the camera pops up the flash to compensate for the low light. All the flash does is over-light foreground and give you dark backgrounds. If you use any of the other camera modes, you will negate this problem. Please remember that to avoid noise and camera shake, it is best to use a lens that has a wide aperture level. these lenses can be expensive, so invest in them only if you are serious about photography.
Seek out the light sources
Before composing your frame, pay attention to the main light source. Light could come from billboards, hoardings, or the streetlights across a street. The ideal thing to do is to wait near a beautiful light source, or sit at an area with good lighting, and wait around for something to happen. Busy streets, markets, the space and spots outside a railway station are ideal locals for people photography. Another tip to keep in mind is to focus light sources on your subject. If there is not enough light, you can use strobes or key lights that can be controlled.
Processing Night Photography
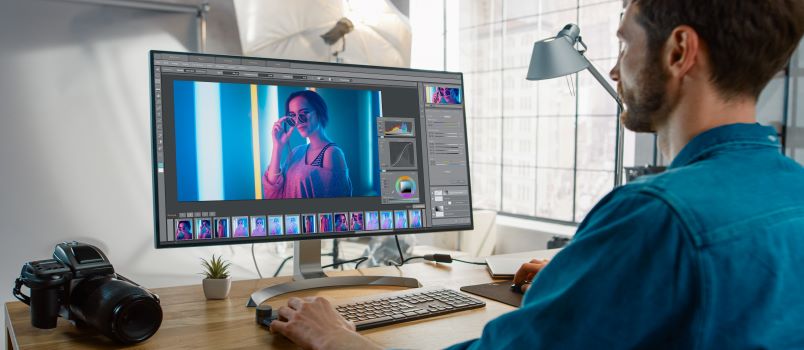
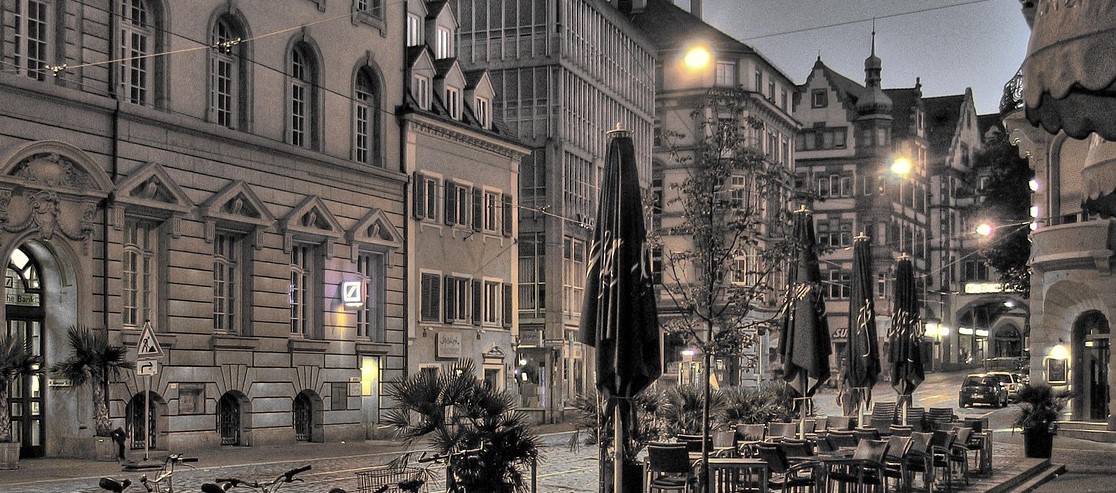
Night photography can reveal wonderful colors and incredible dramatic appearance at night. Many locations may surprise you with the effect of night light. For example, city lights add enough interest and lots of post processing work with photography of facades, bridges, skylines etc. Dull, dark and raw images clicked at night get magical touch with brightness, contrast, and colors using effective editing tools like lightroom, photoshop etc.
Good images have special space in the modern era of internet. Whatever sector that you operate, photography, fashion, food, photographs can generally hit harmony with the group of onlookers and identify with them in different aesthetical dimensions. Photographs that are expertly altered by the professional photograph editing utilizing editing tools like photoshop and lightroom to look all the more staggering and it very well may be added preferred standpoint to your marketing activity. This legitimizes the expanding unmistakable quality delighted in by expert photograph editing services nowadays.
So, that is all that we have for you today. Whenever you do out for nocturnal photography, these are the tips that you need to keep in mind. They will definitely be a help in your nighttime photo shoots.
Author Bio:
Nayan Chowdhury, copywriter and graphic designer. Best known for his work in image editing and photography. He is keen to mingle with retailers and photographers.






![How To Start A Photography Business [2022 Beginner’s Guide]](https://designbeep.com/wp-content/uploads/2021/03/image4.jpg)

