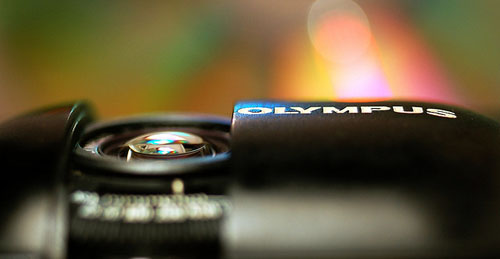
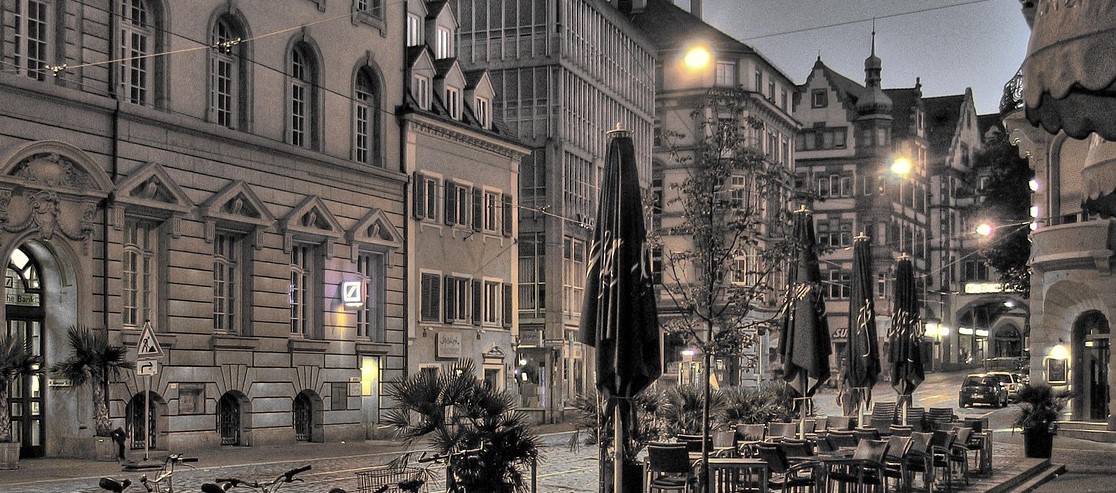
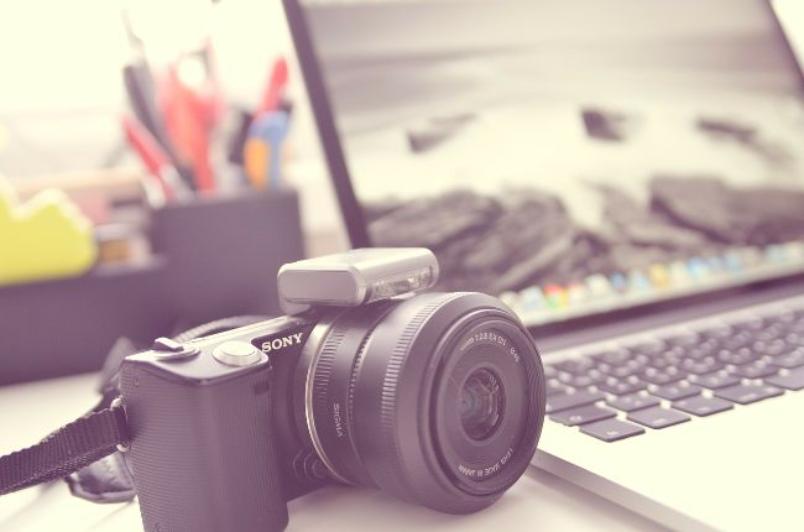
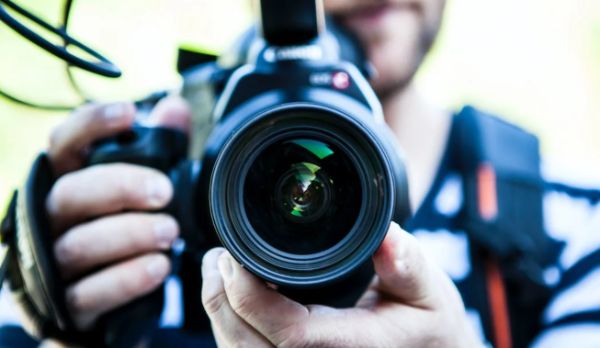
One of the best things about photography is the variety of ways one can choose to highlight an object or person. Even the simplest of camera tweaks can completely change the way we view the subject on the other side of the lens. One of the easiest ways to draw “ooohs” and “ahhhhs” over a subject is to use the simple, yet oh-so-effective technique of bokeh. In a field that typically stresses “focus” as good and “blurry” as bad, the bokeh technique opens the door to a world where a perfect image is the harmony of both. The best part? Bokeh is easy to learn and highly effective in creating stunning photographs when used effectively. Detailed wedding shots, senior portraits, nature photography and many other niches can be greatly improved by learning this simple and trusted technique.

Understanding the blur
The word bokeh essentially means “blur,” which is exactly what one is aiming to do when using this skill. With the subject in focus, photographers aim to blur the background into an attractive landscape that will complement the subject being highlighted.
Achieving the blur
When it comes to achieving the perfect bokeh, it really boils down to equipment. A successful bokeh requires the creation of a shallow depth of field and large aperture setting, so these two things reign supreme when choosing the right lens for a bokeh project.
While it’s easy to jump on the band wagon of “aperture = everything” when it comes to the blur, it’s not always necessary to spring for an f/1.4 lens when an f/2.8 will do just fine. Consider the following; will it benefit the photo if the blur contains detail that supports the subject? A popular example of this is in portrait photography; the high school senior with his motorcycle slightly blurred in the background, or the bride with her groom in the background looking on. These types of settings are supported by slight bokehs that still allow for some detail recognition rather than indistinguishable backgrounds. Considering the purpose of your bokeh will help you to determine whether to spring for the super expensive lens with the wide aperture range or settle for the solid lens with a few more limitations.
No Such Thing as a Bad Blur
When trying bokeh for the first time, accept the mantra that there is no such thing as a bad blur, and get out there and give it your best shot while keeping the following steps in mind:
- Choose Your Lens. Picking a lens with a large aperture will allow you flexibility in creating your desired level of bokeh.
- Pick Your Subject and Create Your Distance. Get close to your subject and aim to create as much distance as possible between that subject and the background you wish to blur. Remember, depth of field matters!
- Experiment. The best part is getting to play around with different amounts of bokeh until you achieve the desired effect. Try switching the aperture and distance between your subject in order to see and understand how each little change affects the final result.
 image credit
Once the technique is understood, the creative possibilities are truly endless. By looking at the world through a new “lens”, you will begin to see and understand the beautiful options a simple blur can create.

