Black and white photos are unquestionably much more artistic, emotional, and timeless; its simplicity moving away the attention from the color and enhancing the photo’s visceral aspects and design. They can be used in practically any shot – from the laughter of a child, to a serene winter morn. Black and white photos are not, strictly speaking, black and white; they are photos subject to the grey scale – a range of colors from the darkest black to the lightest light, and therefore everything in between. Hence, the common perception that black and white photos limit a photographer’s creativity by limiting the color range is false; there is a wide array of grays to choose from, one of which would best suit the photographer’s needs. Looking at it, black and white photos require a surprising amount of skill – and here are some tips on how to make it as perfect as possible.
Shoot In Color
 Photo Credit
It would seem ironic that to create a good monochromatic photo, one would have to take the photo itself in color. However, such is the case as setting the camera in its black and white mode denies the photographer the freedom of choosing the perfect grey scale blend for the photo. Nonetheless, if your camera has a RAW format (which is only available in more upscale devices), the camera takes two photos – one in the original, colored form and another in the automatic black and white format. This gives the photographer more creative liberty.
Peek Backstage
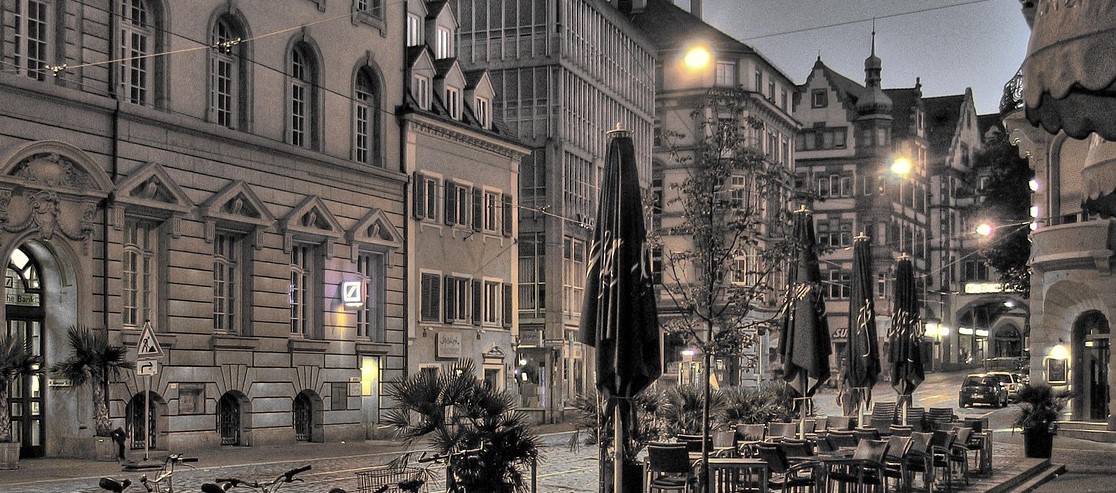
The double-edged sword of monochromatic photos is its lack of color. It cannot grab the attention of a viewer from point to point with its vibrant colors. But because of this, a viewer can then focus on points of interest that is normally pushed aside in colored pictures. Some examples are shadows, which emphasize structure and shape; textures, which enrich a photo; and patterns, where most of the eyes will be focusing on without any color to distract.
Pick The Lowest ISO
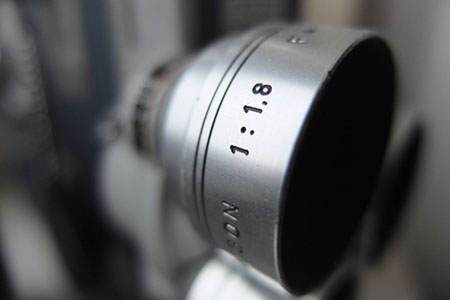 Photo Credit
ISO, or International Standards Organizations, refers to a camera’s sensitivity to light. It controls the amount of ‘noise,’ or ‘grain’ in the photo; the higher the ISO, the higher the noise, and vice versa. While the grainy look is preferred by many in black and white photos, as it adds to the gritty feel of the shot, it is better to have a photo with little noise, than to add the ‘grainy feel’ in the desktop, rather than to have a photo with much noise – because at the end of the day, it is so much harder to remove noise than to add it.
Pick The Right Time
There is always a right time for everything, even in photography. In days where the clouds block a lot of the sun, or a storm looms just above the horizon, these are days that are absolutely awful for colored photographs – but are inversely so for black and white photos. The low levels of natural light allow for a smoother contrast between shadow and subject, and if you feel that the photo needs more contrast, it can easily be added in post-production, and like the noise, is challenging when done the other way around.
Pick a Perfect Subject

Black and white photos have a way of bringing a more sensitive experience to a picture. Photographers must bear this in mind when picking the perfect subject, as viewers will be focused more on the graphic elements rather than the overall look, without the colors to shine through. The most common choice of subject is a single one; like a flower, a cloud, or a face. It allows the viewer to zoom in on a single object, which is made more intense by the gray colors. Another subject that is perfect for monochromatic photos are moving ones, which is much more difficult. However, dynamic objects allow for movement in a typically ‘dead’ black and white photo.
Conclusion
[alert-success]Photography is a very modern art – and a very popular one. Any person with a camera can start snapping at photos, even students with study life balanced curriculum can capture something lasting and beautiful. One aspect of this is the use of black and white. This may be a tricky art, but with the use of the tips and a few trial and errors, one can create something lasting and beautiful – a true art.[/alert-success]











![How To Start A Photography Business [2022 Beginner’s Guide]](https://designbeep.com/wp-content/uploads/2021/03/image4.jpg)


