
Real estate photography is a specific niche that requires both an eye for detail and the ability to capture a property in the best possible light. If you’re just getting started in real estate photography, checkout the best cheap cameras for real estate photography.
Here are 10 essential tips that will help you take your photos to the next level.
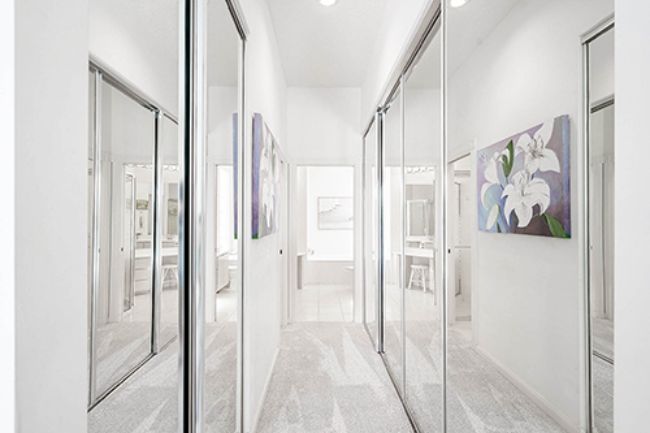
1. Use A Wide-Angle Lens
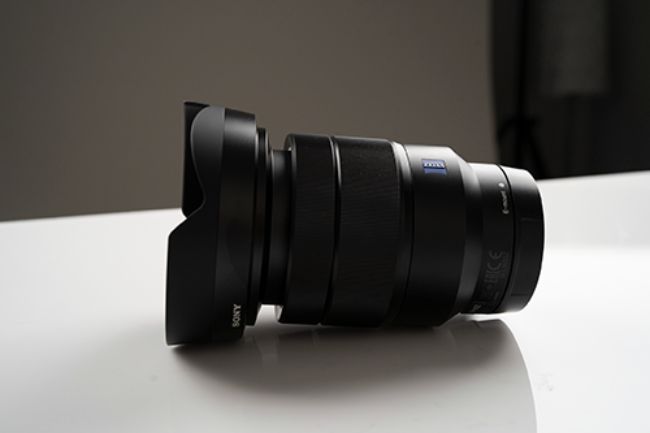
A wide-angle lens is an essential tool for any real estate photographer. This type of lens allows you to capture a wider field of view, which is important when shooting interiors. When shooting with a wide-angle lens, be careful not to distort the image by tilting the camera up or down.
Instead, keep the camera level and use the zoom feature on the lens to get closer to your subject.
2. Shoot In RAW Format

When it comes to real estate photography, quality is key. That’s why it’s important to shoot in RAW format, which is a higher quality than JPEG. RAW files are larger and take up more space on your memory card, but they’re worth it because they provide more flexibility when editing.
3. Use A Tripod

Tripods are essential for two reasons: they help prevent camera shake and they allow you to slow down and compose your shots carefully. When shooting interiors, use a tripod with a remote shutter release(or a timer in camera) so you can avoid shaking the camera when taking long exposures.
In regards to the type of tripod, use a ball joint tripod. As you’ll be taking pictures on uneven ground outside and tight spaces inside the house and you’ll need the camera to be leveled.
4. Get The Exposure Right In-Camera
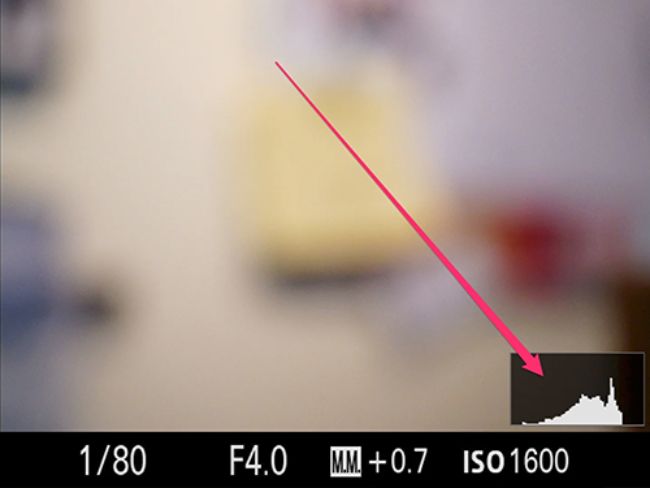
Getting the exposure right in-camera is important because it will save you time in post-processing. To get the exposure right, use Manual mode on your camera and take a few test shots before taking the final photo.
Pay attention to the histogram on your camera’s LCD screen to make sure all of the important details are properly exposed.
5. Turn On The Lights and Turn Off Fans
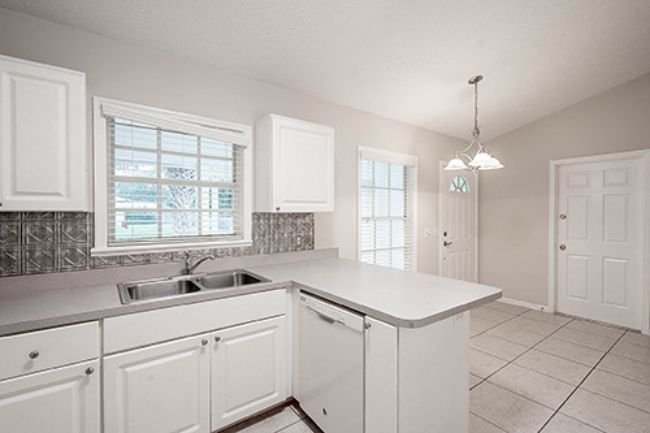
Before you shoot a house, prepare the house for shooting. This means turning on all the lights in the house. If there are windows in the room, open the curtains or blinds to let in natural light. Turn off all fans and close all the toilet lids for a more professional look.
6. Use HDR Photography
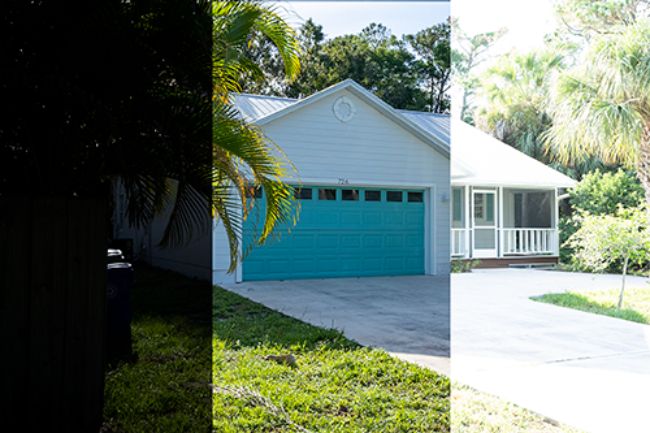
HDR (High Dynamic Range) photography is a technique that allows you to capture both the highlights and shadows in a scene without sacrificing one for the other.
To shoot HDR photos, use bracketing mode on your camera and take three photos of each scene—one overexposed, one underexposed, and one correctly exposed photo.
Then, merge all three photos together using HDR software like Photomatix Pro or a Photoshop application.
7. Remove Clutter
Before taking photos of any room, walk around and remove any clutter that might be present. Clutter includes items like clothes lying around, dishes in the sink, toys on the floor, etc.
Once you’ve removed all of the clutter from each room, take another look around and see if there’s anything else that can be removed (like vases of flowers or bowls of fruit) to make each shot look more clean and inviting.
On the outside, hide garbage cans and anything unwanted that’s on the driveway as these will distract the viewer.
8. Shoot Straight On
When taking photos of rooms, try to shoot straight on whenever possible rather than at an angle (unless you’re trying to capture a specific architectural element).
Shooting straight on will give each room a more spacious feel and make it look bigger than it actually is—something that’s always appealing to potential buyers!
9. Edit Carefully
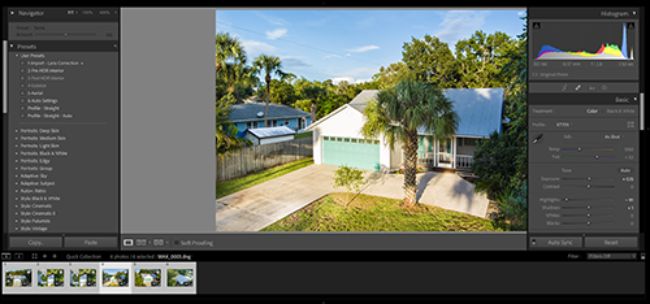
Once you’ve taken all of your photos and transferred them onto your computer, it’s time for post-processing! When editing real estate photos, less is more—you don’t want to go overboard with filters or other effects that might end up making each photo look artificially “perfect.”
Stick with basic edits like white balance correction, exposure adjustment, sharpening/clarifying, etc., and only apply these edits sparingly so that each photo looks realistic yet still visually appealing.
10 Take Your Time
Real estate photography isn’t something that can be rushed—good photos take time (and lots of practice!) to perfect. Keep practicing and you’ll be on the level of pro in no time!
Conclusion:
If you’re just getting started in real estate photography or if you’re looking to brush up on your skills, these 10 tips will help you take your photos to the next level!
Just remember to take your time, shoot in RAW format ,and use a wide-angle lens for best results.
Author’s Bio:
Timothy Ross is professional Illustrator and Real Estate Photographer. He’s the owner of TimmyRoss.com where he writes about everything in visual media, from Graphic Design to Photography.


