
Store Locator enables you to add and manage all your locations and their related information, and making it easy for your users to search and locate your stores or businesses on a Google Map.
Its strength is in its flexibility to allow you to easily manage any number of locations from your WordPress admin interface and the several addons featuring top-level features that are available to further boost its capabilities.

Now let’s begin to explain you what Map Store Locator is and how to install it in your WordPress website.
The plugin comes with 2 types of display, so you can have a page displaying your stores on a Google Map, and another displaying your store in a list.
The search Location is simplified
The plugin allows adding both stores as well as storing categories.
It has the flexibility to add your store address and store location in the map, at the time of adding a store. It will also auto populates list of suggestions when adding your city, state, country. After that it allows setting map height, width and no of stores to be displayed on one page. Finally it specifies or limit the radius for search from visitor’s current location.
This is two examples of how Map Store Locator will look:
Map Store locator Example 1

Map Store locator Example 2

Now we will explain how to install the Map Store Locator for WordPress
Installing the WordPress plugin
First follow these instructions:
Addons and Themes
In the add-ons platform: You can auto-locate your website visitors in order to show locations based on where visitor is currently located with 40+ new Google maps country domains and new address map icons and also with new default fields with Fax and Email Address.
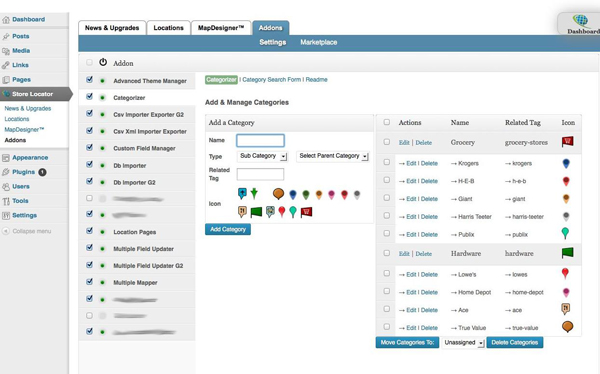
This is how to install the addons and the themes:
Addons
Themes
Manage and adding locations
Managing location: You can easily manage a few or many locations, sortable by Name, City, etc.
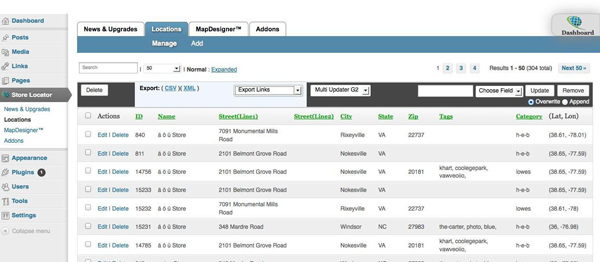
Adding Locations: Once you add a location, it is automatically given coordinates:
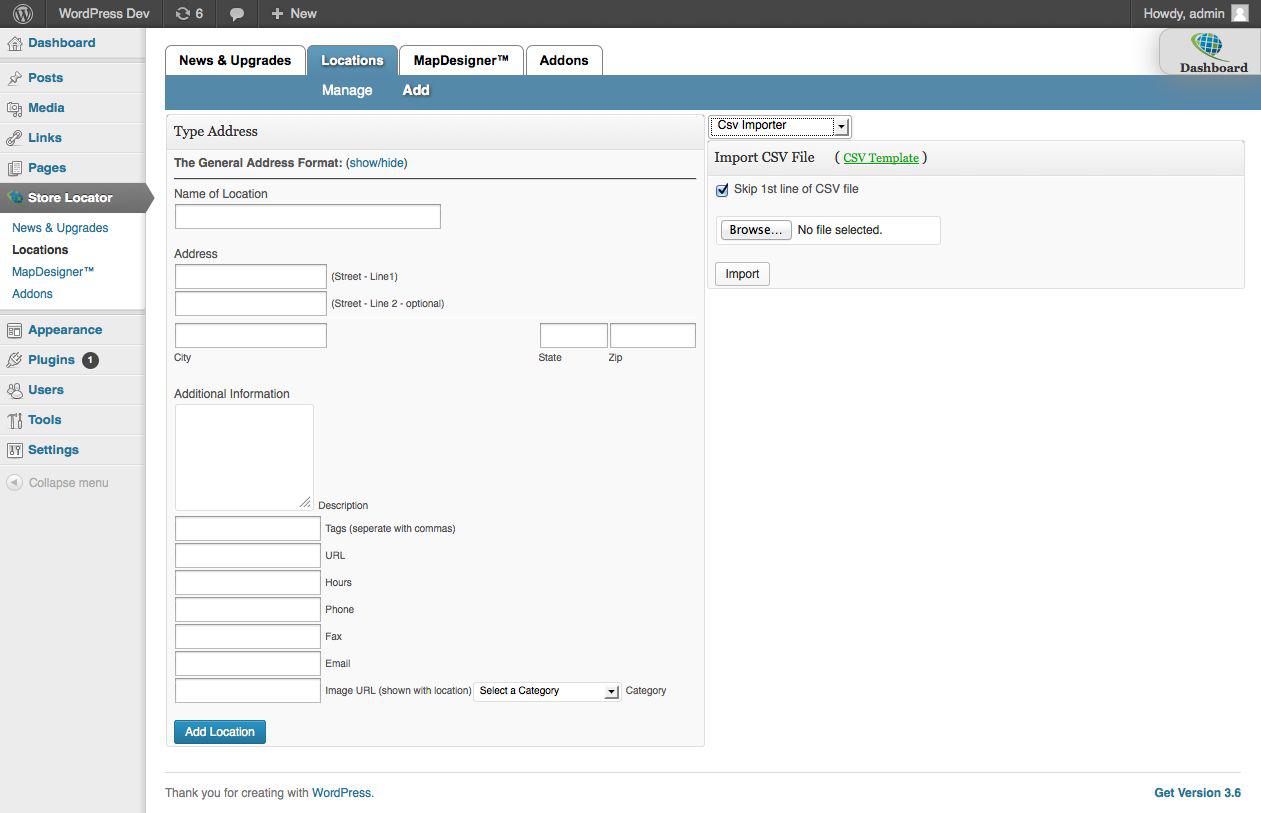
To embed the Store Locator, just type in storelocator enclosed in [ ] in your post or page like this:
A video to explain it in action
This is a nice video that will explain step by step how to install the plugin in your wordpress website:
")


